In this tutorial, you’ll send a tXDC from one account to another using the Web3 JavaScript library.
The XDC Network is known for its fast and low-cost transactions. The XDC token has been designed to facilitate high-speed transactions and a better user experience. The XDC network utilizes a unique consensus algorithm called XinFin Delegated Proof of Stake (XDPoS) that enables fast confirmation times and low transaction fees.
Compared to other blockchain networks, XDC Network transactions are confirmed in just a few seconds, making it an ideal choice for real-time transactions. Moreover, XDC Network transaction fees are much lower than other blockchain networks, making it more cost-effective for users.
When using the Web3 JavaScript library to send XDC transactions, developers can take advantage of these low transaction fees and fast transaction confirmation times, resulting in a better user experience. It’s important to note that transaction fees may vary depending on factors such as the blockchain network being used and the level of network congestion. However, XDC Network’s low transaction fees and quick transaction confirmation times make it an excellent choice for developers and users who prioritize fast and cost-effective transactions.
Requirements
- Node.js installed
- XDCRPC Endpoint: https://apothem.xdcrpc.com/
- XDC account for testing purpose
You can add XDC-Apothem Network in Metamask to create an XDC account for testing purposes.
XDC-Apothem Network details: Network Name: XDC Apothem Network RPC: https://apothem.xdcrpc.com/ Chain Id: 51 URL: https://apothem.blocksscan.io
Once XDC - Apothem Network added successfully, add some funds into the account from Faucet.
Let’s create project directory and Install the required packages
Step 1: To create a new directory for your project, Access the terminal and enter below command:
mkdir sendTransactionFor changing the directory, enter below command:
cd sendTransactionStep 2: Now, Install the web3 and dotenv packages in the project directory.
Note: The dotenv package allows you to use a .env file to securely store private environment variables on your local machine.
Web3 Web3, is a JavaScript library that allows developers to interact with the EVM Compatible Blockchain.With Web3, developers can create applications that can perform various tasks on the EVM Compatible blockchain, such as sending transactions, deploying smart contracts, and reading data from the blockchain.
- To install Web3, enter below command:
npm install web3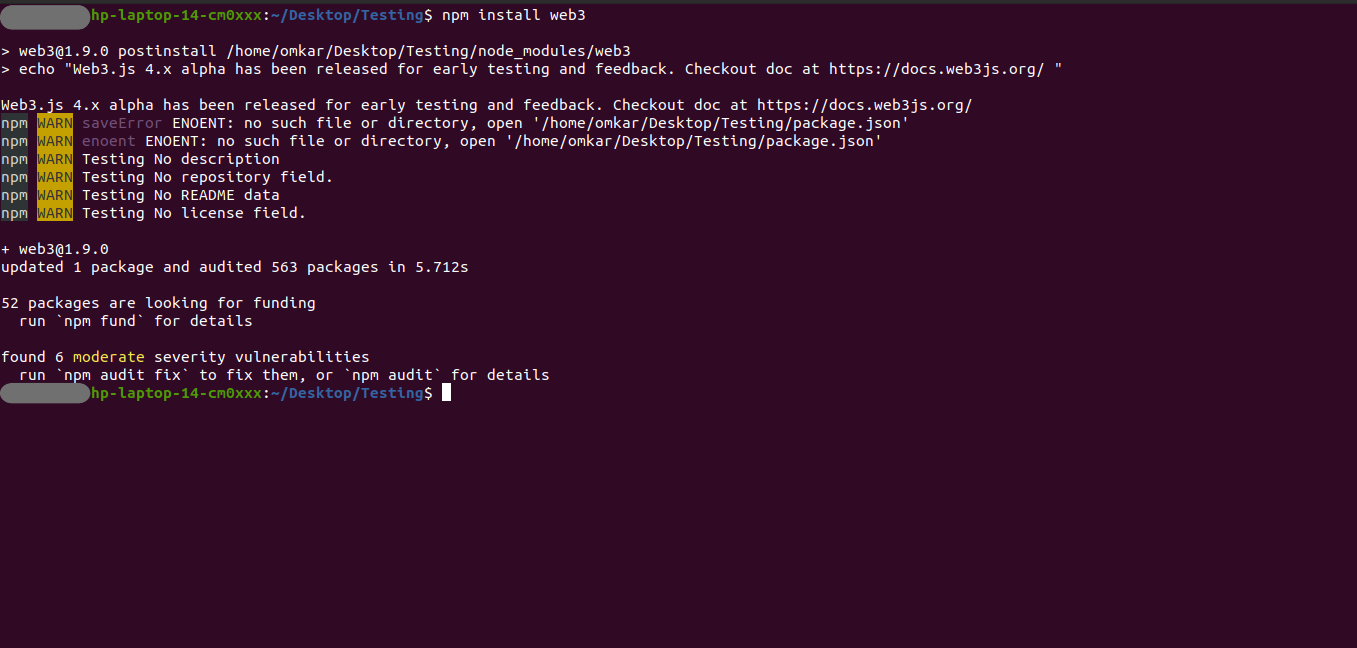
DOTENV Dotenv is a module for Node.js that loads environment variables from a .env file into process.env. It provides a convenient way for developers to manage sensitive information, such as API keys, database credentials, and other configuration settings, without hardcoding them in the source code.
- To install dotenv, enter below command:
npm install dotenv --save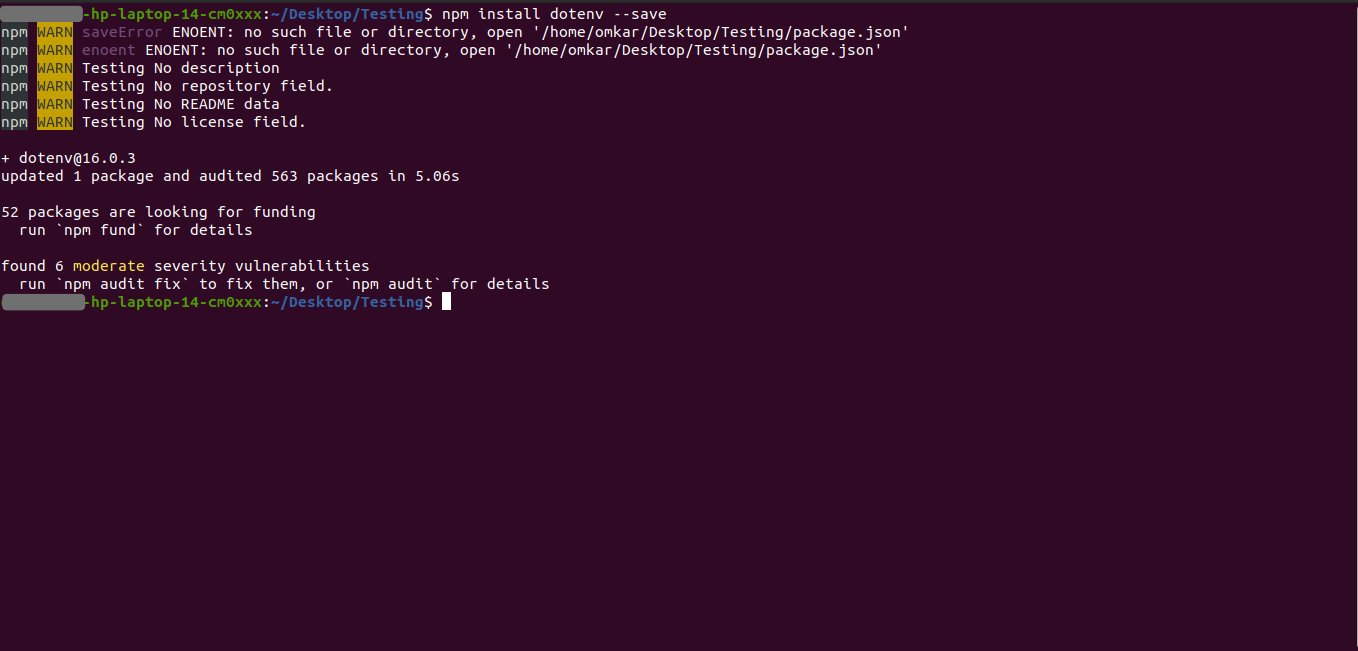
Step 3: Once web3 and dotenv installed successfully, create .env file
Create a .env file in your project directory with below details:
APOTHEM_NETWORK = “Apothem”
SIGNER_PRIVATE_KEY = ”
Note:
-
Make sure you will be replace necessary values in the .env file:
-
with the private key of your XDC - Apothem account. A transaction must be signed with the sender’s private key.
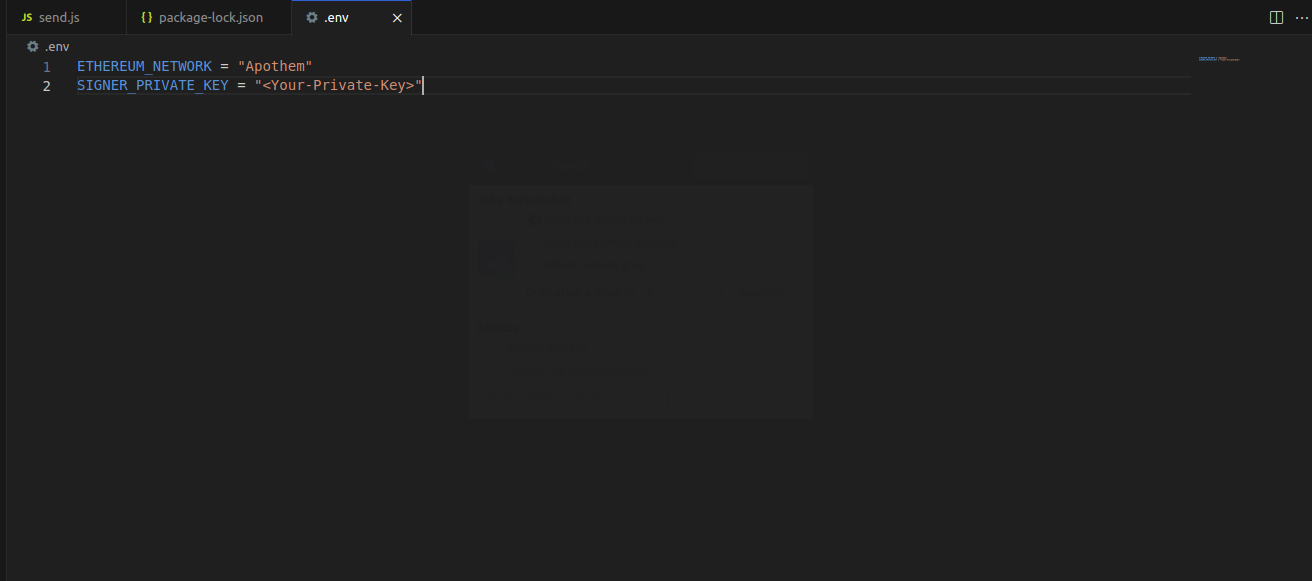
Note: Never disclose your private key. Anyone with your private keys can steal any assets held in your account.
Step 4: Now, create index.js JavaScript file with below code, which configures and sends the transaction.
const Web3 = require("web3");
async function main() {  // Configuring the connection to an Ethereum node  const network = process.env.APOTHEM_NETWORK;  const web3 = new Web3(    new Web3.providers.HttpProvider(        `https://apothem.xdcrpc.com/`    )  );  // Creating a signing account from a private key  const signer = web3.eth.accounts.privateKeyToAccount(    process.env.SIGNER_PRIVATE_KEY  );  web3.eth.accounts.wallet.add(signer);
  // Estimatic the gas limit  var limit = web3.eth.estimateGas({    from: signer.address,    to: "0x35ef9e7eCB979297907370C2Ab64ef4a8a3F2FbE",    value: web3.utils.toWei("1")    }).then(console.log);
  // Creating the transaction object  const tx = {    from: signer.address,    to: "0x35ef9e7eCB979297907370C2Ab64ef4a8a3F2FbE",    value: web3.utils.numberToHex(web3.utils.toWei('1', 'ether')),    gas: web3.utils.toHex(limit),    nonce: web3.eth.getTransactionCount(signer.address),    chainId: 51,  };
  signedTx = await web3.eth.accounts.signTransaction(tx, signer.privateKey)  console.log("Raw transaction data: " + signedTx.rawTransaction)
  // Sending the transaction to the network  const receipt = await web3.eth    .sendSignedTransaction(signedTx.rawTransaction)    .once("transactionHash", (txhash) => {      console.log(`Executing Transaction ...`);      console.log(`https://${network}.blocksscan.io/tx/${txhash}`);    });    // The transaction is now on chain!    console.log(`Block Number: ${receipt.blockNumber}`);
}
require("dotenv").config();main();
Step 5: Now, execute the transaction by entering below command:
node index.js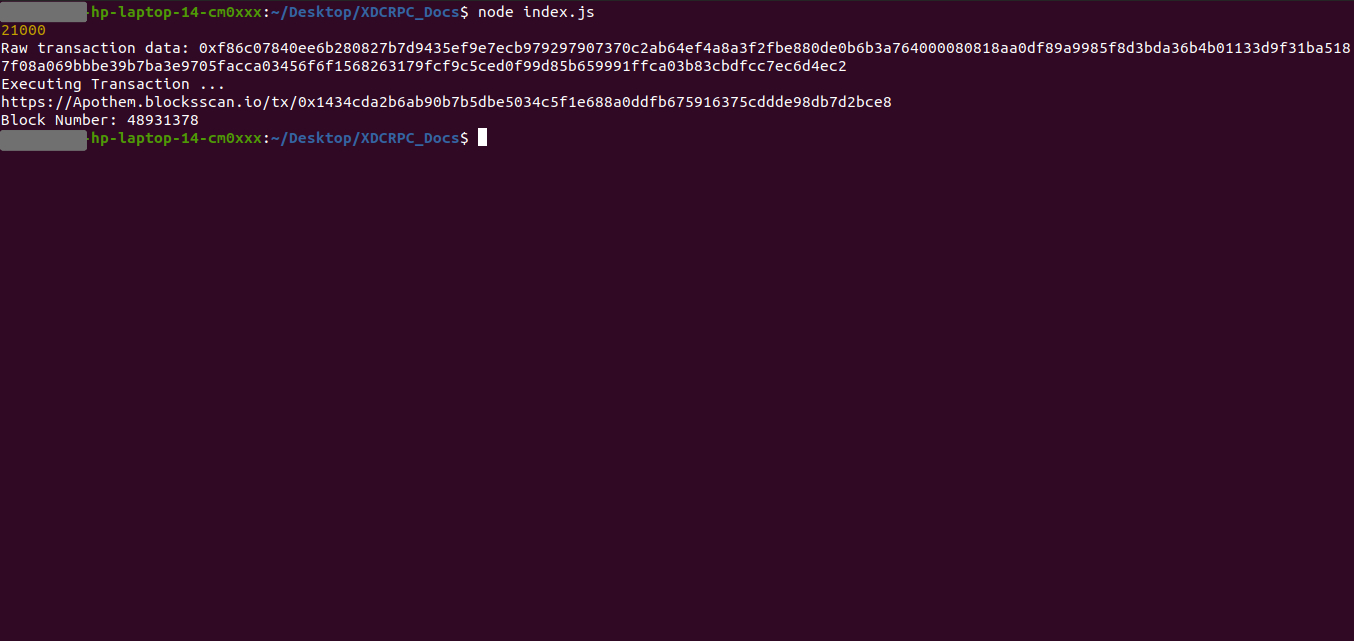
Here you will see the “Raw transaction data”, “Transaction Hash” and “Block number” of the transaction on a console/terminal.
In this article, we explored “How to send XDC” using Web3 and Node.js with the — XDCRPC endpoint. For any doubts or questions comment below or post on social media tagging BlocksScan.
Follow us to know more updates: