In this article, we’ll explore how to deploy Vyper smart contracts using Brownie, a popular Python-based Ethereum development framework. Before diving into the deployment process, let’s first understand what Vyper is and why it has been gaining popularity among blockchain developers.
What is Vyper?
Vyper is a contract-oriented programming language specifically designed for writing smart contracts on the XDC - EVM Compatible blockchain. While it shares a syntax similar to Python, Vyper emphasizes simplicity, security, and auditability, setting it apart from other languages like Solidity.
Why is Vyper Gaining Popularity?
Vyper has been steadily gaining traction in the blockchain development community due to its unique approach to smart contract development. Here are some of the key advantages of Vyper:
1. Security-Focused Design Vyper eliminates complex features like function overloading, modifiers, and inline assembly that can introduce vulnerabilities. This makes it easier to write secure and auditable smart contracts.
2. Simplicity The minimalist nature of Vyper ensures fewer opportunities for coding errors. It encourages developers to write clear and concise code, reducing potential bugs.
3. Pythonic Syntax With its Python-like syntax, Vyper is more accessible to developers who are already familiar with Python, lowering the learning curve.
4. Supports Formal Verification Vyper is designed to allow formal verification, enabling developers to mathematically prove the correctness of their contracts, which is particularly important for high-stakes applications like DeFi.
5. Transparency and Clarity The language enforces straightforward and transparent code, which not only improves trust but also simplifies the auditing process.
Use Cases for Vyper
Vyper is an excellent choice for projects that prioritize security and simplicity, such as decentralized finance (DeFi) protocols, token contracts, and voting systems. However, it may not be ideal for more complex contracts that require advanced features available in Solidity.
Step 1: Install Python Brownie requires Python to work, so ensure that Python is installed on your system. You can check if Python is already installed by running the following command:
If Python is not installed, follow these steps:
- Visit the official Python website and download the latest version of Python.
- Run the installer and ensure that you check the box to add Python to your system PATH during installation.
After installation, verify it by running
python --version
Step 2: Install Brownie
- Install brownie by hitting below command
pip install eth-brownie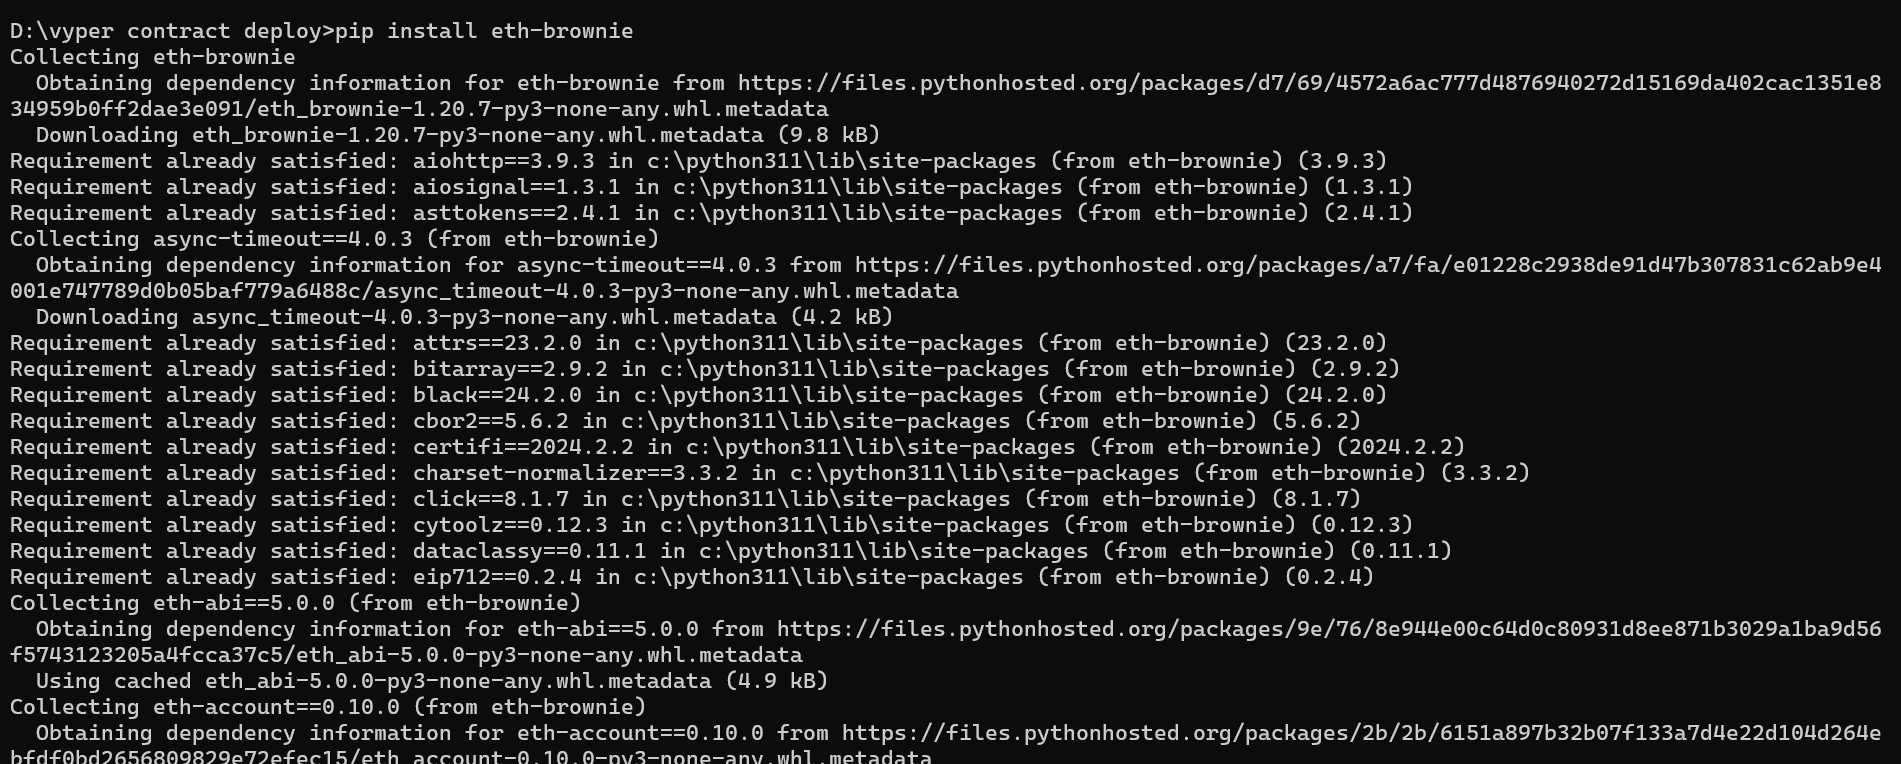
- Verify the installation
brownie --version
Step 3: Create a directory for your brownie project
- Now run below command in the directory
brownie init
- This will generate necessary files in it
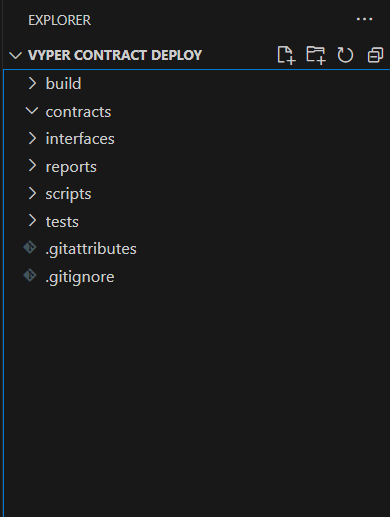
Step 4: Now create contract file in “contracts” folder with “.vy extension”
Like SimpleStorage.vy
# @version ^0.3.9
stored_value: public(uint256)
@externaldef __init__():    # Initialize the stored value to 0    self.stored_value = 0
@externaldef set_value(new_value: uint256):    """    Set the stored value.    """    self.stored_value = new_value
@external@viewdef get_value() -> uint256:    """    Retrieve the stored value.    """    return self.stored_value
Step 5: Now, create a deploy.py file in the scripts folder and write the deployment script in it.
from brownie import SimpleStorage, accounts
def main():    # Load the default account    account = accounts.load('my_account')  # Replace with your account alias
    print(f"Deploying the contract from: {account}")
    # Define gas price    gas_price = "20 gwei"
    # Deploy the contract    simple_storage = SimpleStorage.deploy({"from": account,"gas_price": gas_price})
    print(f"Contract deployed at: {simple_storage.address}")
Step 6: Compile your code by running brownie compile.

Step 7: Now, we need to add our network to the Brownie network list. To do this, run the following command with all your required parameters (RPC URL, chain ID, and network name):
brownie networks add <network_name> <testnet/mainnet> host=<RPC_URL> chainid=<chain_id>For example:
brownie networks add XDC ApothemTestnet host=https://erpc.apothem.network chainid=51
Step 8: You can verify if your network has been successfully added to the list by running the following command:
brownie networks list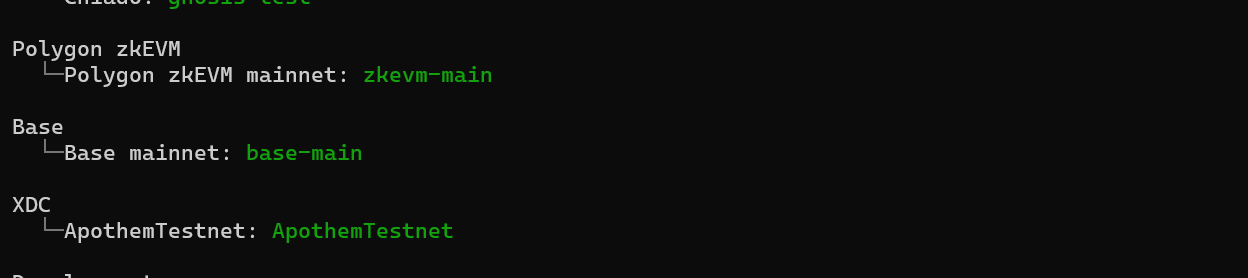
Step 9: Now you need to add the account from which you will be deploying your smart contract.
- Run the following command to create a new account:
brownie accounts new <account_name>For Example:
brownie accounts new my_accountYou will be prompted to enter your private key and a password to unlock your account. Provide the required details and press enter to complete the process.
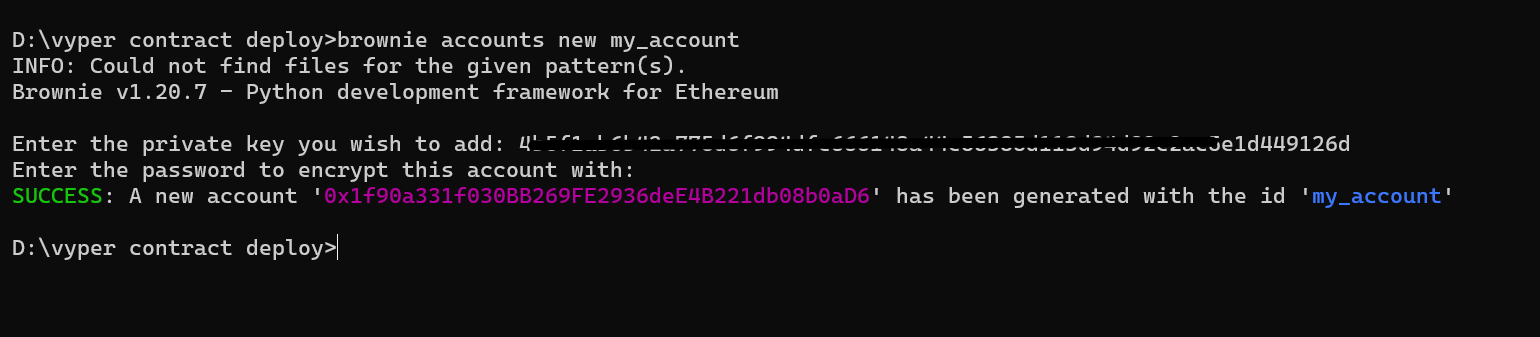
- To check if your account has been added to the list, run the following command:
brownie accounts list
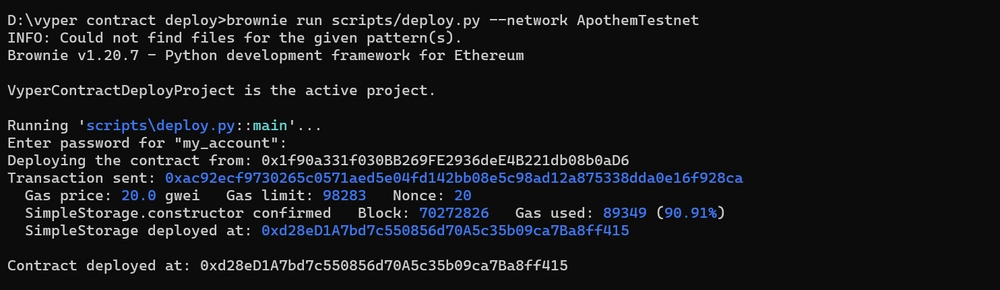
Step 10: Now we will deploy our contract. Run the following command to deploy your contract:
brownie run scripts/deploy.py --network <your network name>- Replace
<your network name>with the name of the network you configured earlier.
For Example
brownie run scripts/deploy.py --network ApothemTestnetAnd here, your Vyper smart contract is deployed using Brownie on XDC Apothem Network
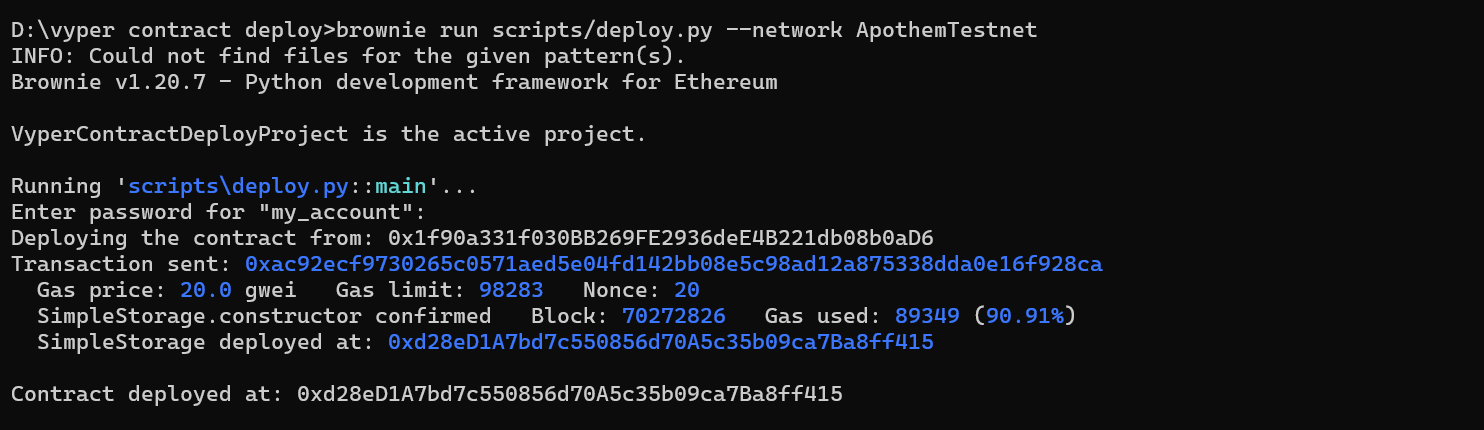
##Some Common Issues:
1. Version Issues: You may encounter version compatibility issues. For reference, the following combination works:
Python Version:
- Python 3.11.5
- Brownie Version: Brownie v1.20.7 - Python development framework for Ethereum
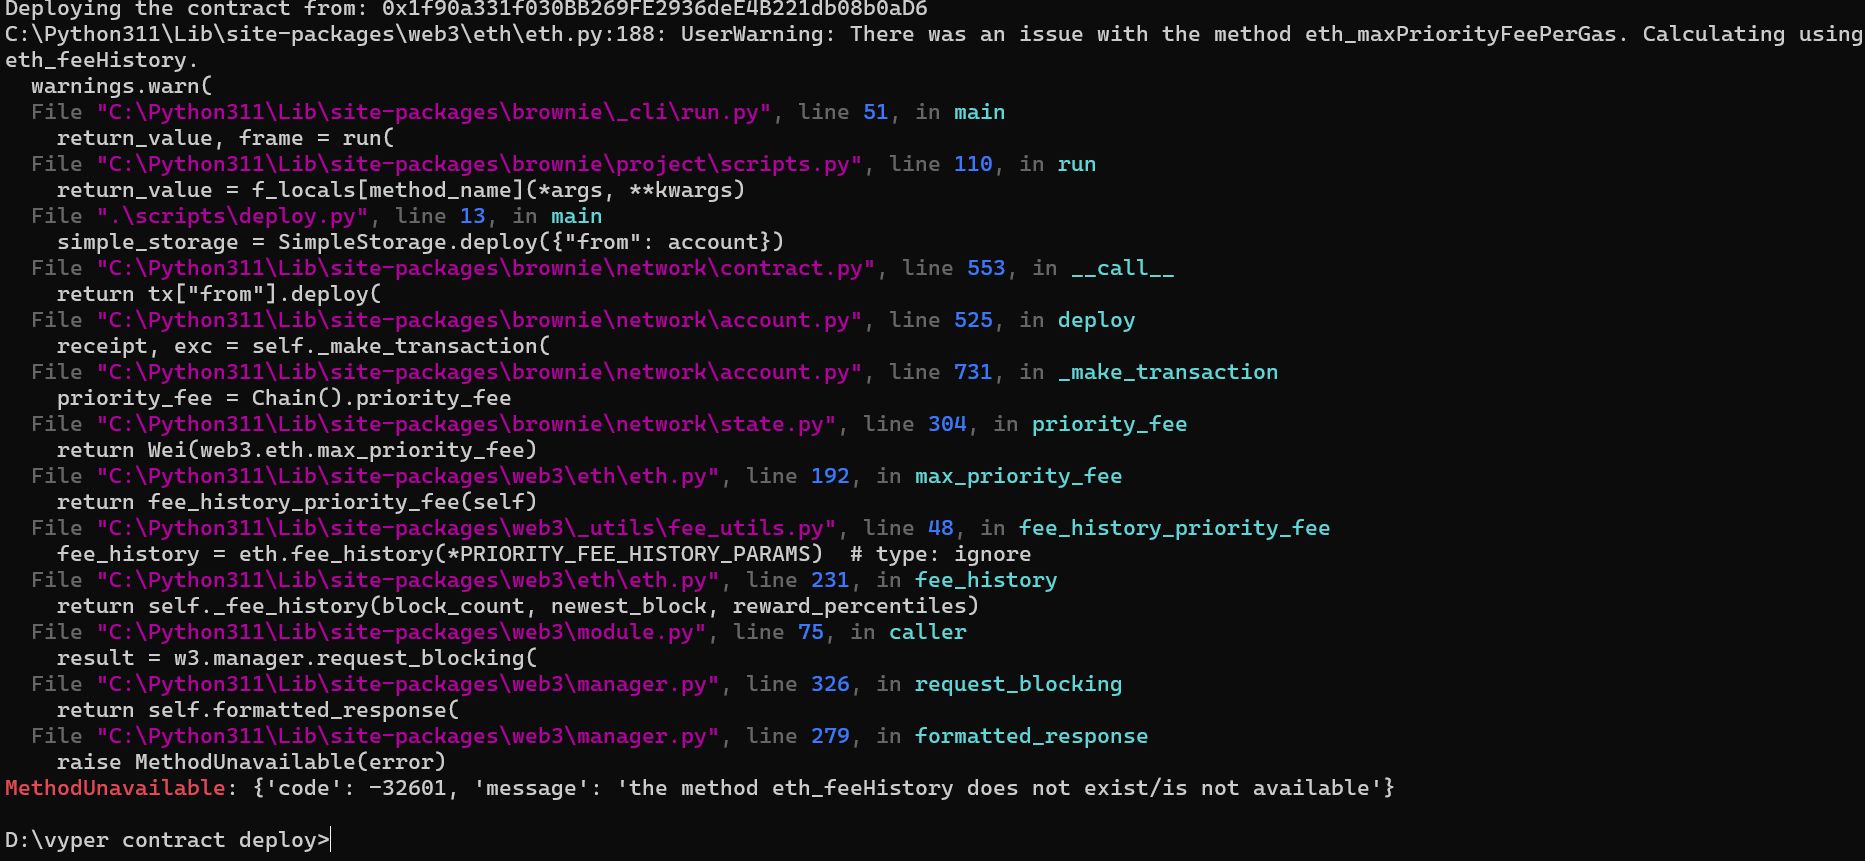
2. Gas price issue
You may encounter an error related to the gas price. To solve
this, we need to define the gas price explicitly. As you can see in the code, we have defined the gas_price variable.
In conclusion, mastering tools like Brownie and Vyper simplifies smart contract development and deployment. Keep exploring, learning, and building!
For more insightful articles and guides, stay connected and follow us on various platforms. Happy coding! 🚀
Please Follow👇